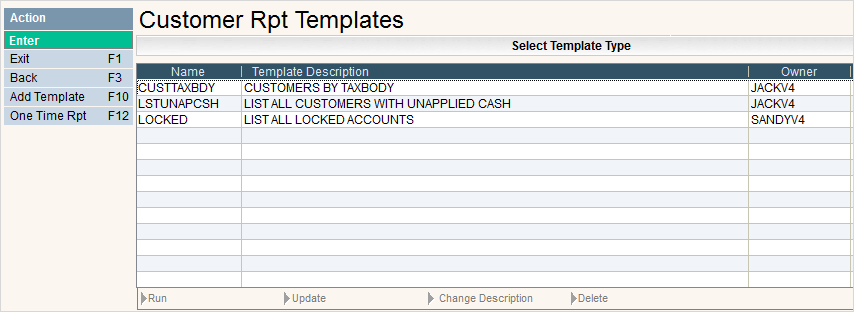
The Variable Report options provide flexibility in creating your own reports or templates. They can be set up for many different files, and for each file you can select several selection criteria. In addition, you can create several reports in the same file and save them as templates so they can be used again and again. They can be used to create a printed report, export the information to an Excel spreadsheet, or to create a database file.
From the Master Menu, select Customer Reports option #2. From the Customer Reports Menu, select Variable Customer Report. The Template Scan screen will be displayed.

To run an existing template, simply double click on the Template line item and the report will be submitted.
To update an existing template, single click to highlight the template and click on the ![]() option on the bottom of the screen, you can then make changes to the template.
option on the bottom of the screen, you can then make changes to the template.
To add a new template, click on the ![]() button and the Enter Templates window will be displayed.
button and the Enter Templates window will be displayed.

Enter a template name and detailed description and press ![]() to continue, the Variable selection screen will be displayed.
to continue, the Variable selection screen will be displayed.
To run a One Time Report, click or press the ![]() button and the Variable selection screen will be displayed.
button and the Variable selection screen will be displayed.
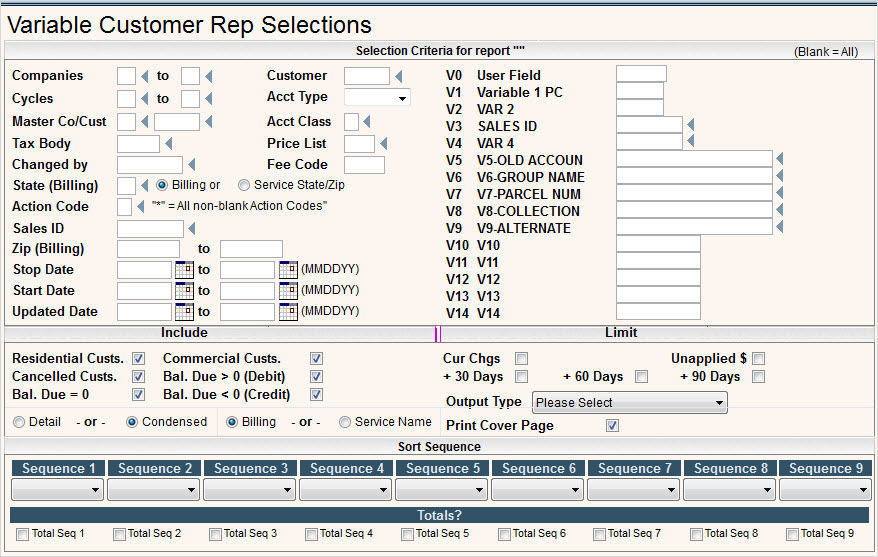
Fill in your selections for the report. Leave blank to include 'All' in the top portion. Under the "Include" section, check all the sections that you want to include. For instance, if you only want to see customers with a credit balance, then you would uncheck all the fields except for Bal. Due < 0 (Credit). In the "Limit" section, check any box if you want to limit your report to a specific category. For example, if you want to limit the report to customers with unapplied, then check that box and leave the others blank.
In the Output Type field, click on the ![]() to display choices of
to display choices of ![]() . Select your desired output by clicking on the selection.
. Select your desired output by clicking on the selection.
You can choose how to sort your report by using the Sequence fields. All fields that allow sorting will display when you prompt and you can choose which order and whether you want totals (for any numeric fields) to print at the end of that field. For example, if you decide to sort by CYCLE and check ![]() Total Seq 1, then the numeric fields like aging buckets will print totals for each cycle.
Total Seq 1, then the numeric fields like aging buckets will print totals for each cycle.
Once you have completed your selections, click or press ![]() to continue. You will get a message on the bottom of the screen:
to continue. You will get a message on the bottom of the screen:
![]() . Click or press
. Click or press ![]() to continue. You will get the message that your request has been submitted to batch.
to continue. You will get the message that your request has been submitted to batch.

If you selected a Spreadsheet file, you will get a message when the report is completed and ready for download. You can see any reports that are available for download by clicking on the F9 messages key from any i-Pak menu. You can delete the messages once your file is saved in excel, or can re-download a file at any time while the message & file still exists. i-Series files, Spreadsheet files & messages will remain on your server for 2 weeks, then they will be automatically deleted during the EOD process.
The files created by these options have unique names: Spreadsheet files = Y#aaabbb and i-series files = Y@aaabbb. (where aaa=Julian Date and bbb = sequential number.)
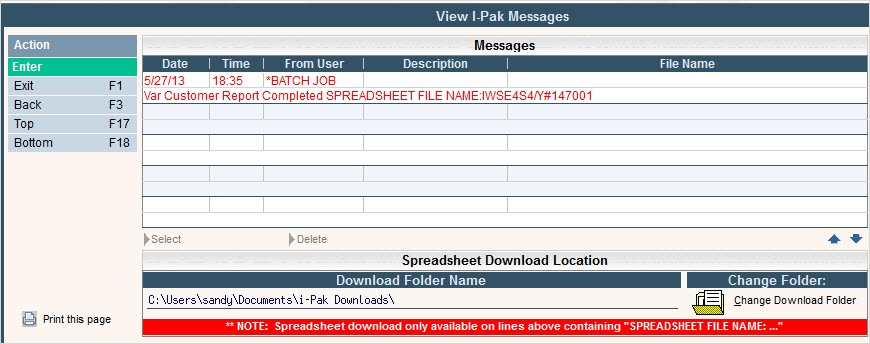
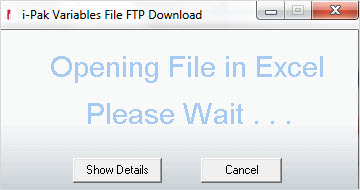
Double click on the message to get the download started:
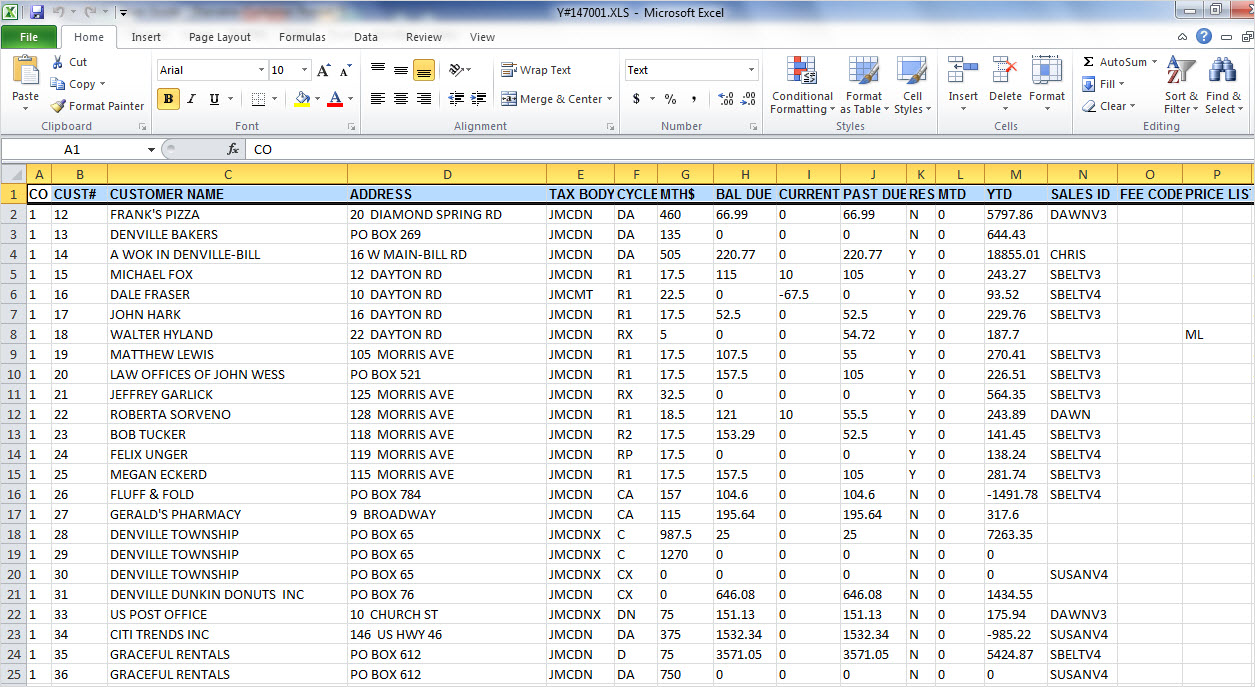
If you scroll over to the right, these are the remaining fields that are downloaded:
![]()
From here you can use all the tools of excel to manipulate the data and generate the reports in whatever form you need them.