The Temporary Route split feature is a way to temporary split a route, print a route list and adjust Route Costing files already created - as well as create a new one. This can be used if there is a mechanical failure and another vehicle must finish the route.
From the Operations Menu, select the Temporary Route Split option #13. The Temporary Route Split selection screen will be displayed.
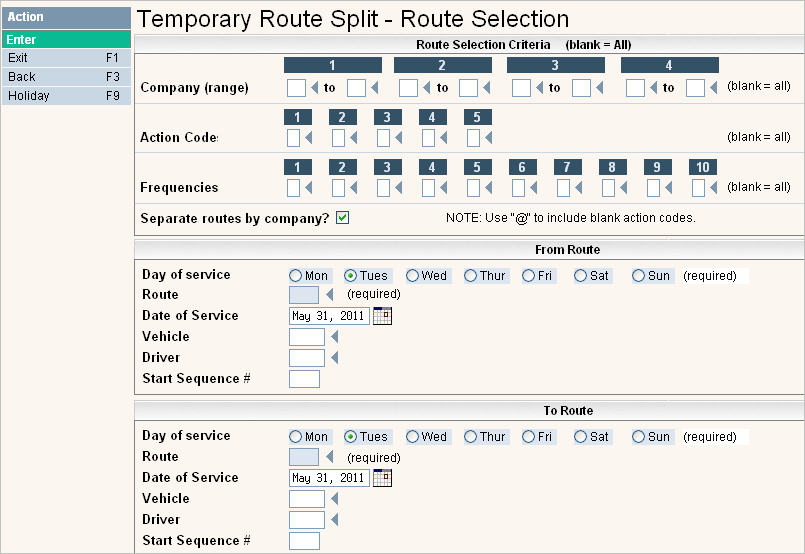
In the Route Selection section:
Enter the company ID or range of company ID's for the routes that will be changed.
Enter the action codes for the Routes that will be changed.
Enter the frequency codes for the Routes that will be changed.
Check ![]() Yes if you want the route to be split by company. Leave blank
Yes if you want the route to be split by company. Leave blank ![]() for NO, do not separate by company.
for NO, do not separate by company.
In the From Route section:
Select the Day of Service and Route that the stops will be moved FROM.
Enter the Date of Service so that Route Totals, Allocations and Costing files can be modified.
Enter the Vehicle ID used for the from route so that the correct file can be modified.
Enter the Driver ID used for the from route so that the correct file can be modified.
Enter the Start Sequence # for the first stop to be moved. Leave blank for all sequence #'s.
In the To Route section:
Select the Day of Service and Route for where the stops will be moved TO.
Enter the Date of Service so that Route Totals, Allocations and Costing files can be modified.
Enter the Vehicle ID that will be used for the temp route so that the correct file can be modified.
Enter the Driver ID that will be used for the temp route so that the correct file can be modified.
Enter the Start Sequence # for where the stops are to be moved to.
Click or press ![]() to continue. The from and to route will be displayed in a split screen.
to continue. The from and to route will be displayed in a split screen.
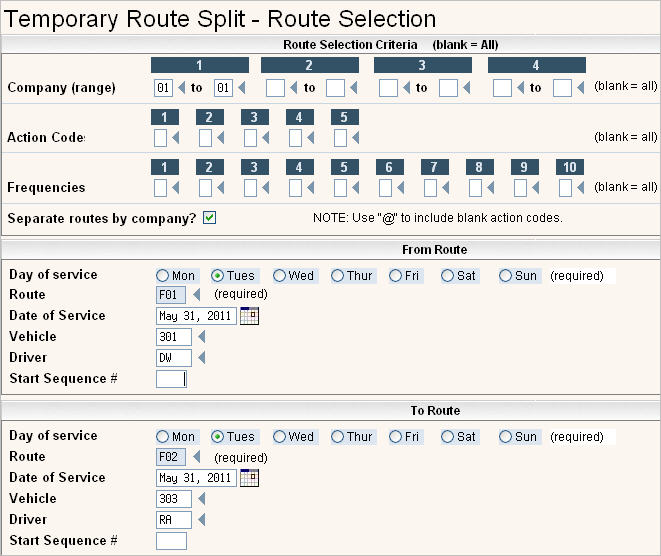
In my example, my vehicle 301 was in an accident and the driver went to the doctor, so I need to temporary split the route from stop #35 to route F02, vehicle 303 and driver RA.
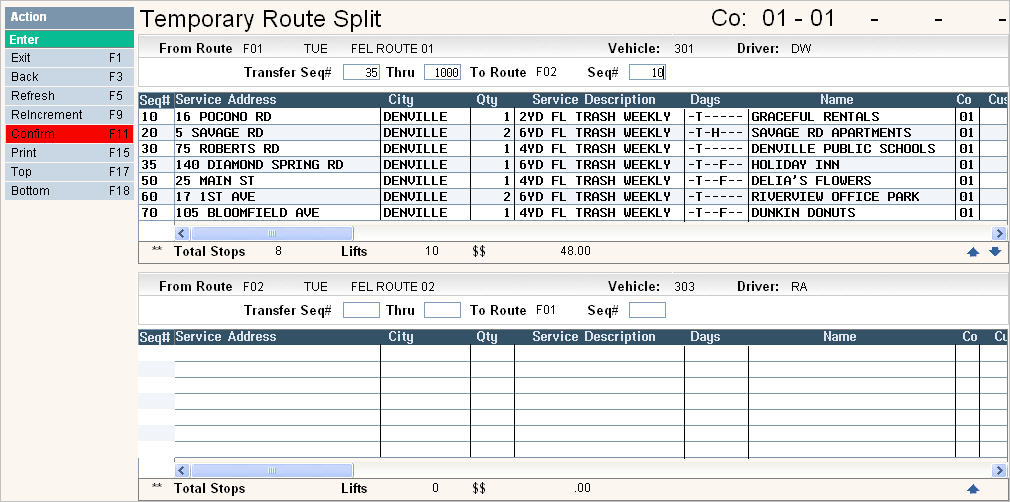
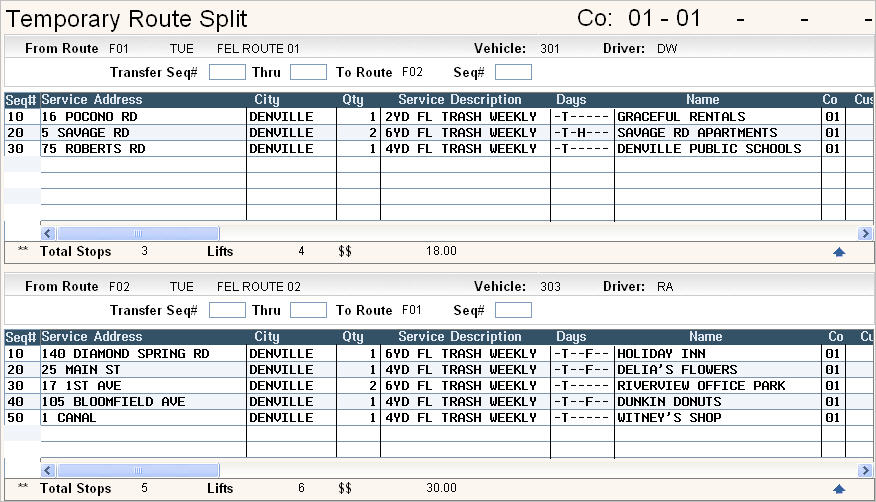
In the Transfer section, I am going to move stop 35 through 1000 to Route F02 starting at sequence #10.

Since there are not any stops on route F02 for that day, I am not changing the 'to' transfer section.
Click or press ![]() and the stops will be moved.
and the stops will be moved.
To confirm the changes and make them permanent, click on the ![]() button. The system will ask you to confirm your changes.
button. The system will ask you to confirm your changes.

Select yes to confirm your changes by clicking on Yes to put a ![]() in the circle.
in the circle.
To undo the changes and put the routes back to how they started, click on the ![]() key, you will get a message that changes will be lost.
key, you will get a message that changes will be lost.
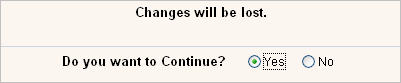
Select yes to confirm the refresh by clicking on Yes to put a ![]() in the circle.
in the circle.
You can print a route list for the from, to or both to review before making changes permanent.
Click or press ![]() and the Print options window will appear.
and the Print options window will appear.
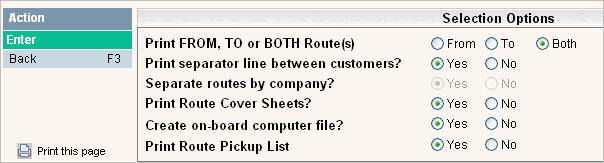
Make your selections and click or press ![]() to continue.
to continue.